GIS with Python, Shapely, and Fiona
- This is still the recommended way to start with GIS in Python.

Usually this blog is about things made here. This post isn’t.
Shapely and Fiona are essential Python tools for geospatial programming written by Sean Gillies. Use them instead of ESRI’s Python toolchain. They are free, stable, and mean you can post your code on GitHub and nonrich people will be able to run it.
Recently Brian Timoney and James Fee have been writing about how geospatial work is more and more programming and less GUI-driven operations in the ArcGIS mold. They’ve been pointing a lot to Python for this.
To make this a bit more concrete, here are some quick recipes of how to do things with Shapely that I have recently done and may be useful.
A Quick Note on Shapefiles
The shapefile are a historical format that has outlived its term. I do not endorse them philosophically, but as they are the lingua franca of most open source and closed source tools, and are easily transmuted into anything with ogr2ogr, I will write about them as if they are okay.
Sidenote: Windows
A sidenote: this toolchain will work on Windows, but I’d strongly recommend against it. I will not attempt to describe how to install this stuff on Windows, since that road is filled with tears. I am sorry.
Python
Python is an open-source programming language. It doesn’t have anything to do with GIS itself, but has become one of the key languages to use for GIS. This is mainly because it’s very commonly available and integrates well with the C++ code which forms the basis of a lot of GIS functionality (GEOS, Mapnik, and OGR are written in C++).
Plus, Python is known for being pretty easy to use - MIT switched to using it and it’s a language that doesn’t bother you too much with its own baggage or complexity.
Shapely
Shapely does manipulating and analyzing data. It’d based on GEOS, the standard library for doing that kind of thing, that is very fast. With Shapely, you can do things like buffers, unions, intersections, centroids, convex hulls, and lots more. It does it all quite efficiently.
Fiona
Fiona does reading and writing data formats. For this it uses OGR, the most popular open-source conversion system. OGR is extremely powerful and supports many, many formats - it’s used by Mapnik, a tile rendering engine, to support more types of data, and used by people like me every day to convert formats.
The go-between is a really simple format called Well-Known Text and a slightly more efficient format called Well-Known Binary. This lets Shapely worry about tricky spatial calculations and Fiona worry about tons of file formats, and work together efficiently.
Why not use GEOS or OGR directly? GEOS, for one thing, doesn’t provide bindings to Python, so you’d need to use C++. You don’t want to write C++ for data-munging scripts. OGR does provide Python bindings, but they’re extremely ‘un-Pythonic’ - they don’t behave like other things in the language, and they’re very error-prone.
So, in a typical script, you would use Fiona for input and output, and use Shapely for making and manipulating geodata. Got it? Let’s go.
Turning Arbitrary Data into Geodata
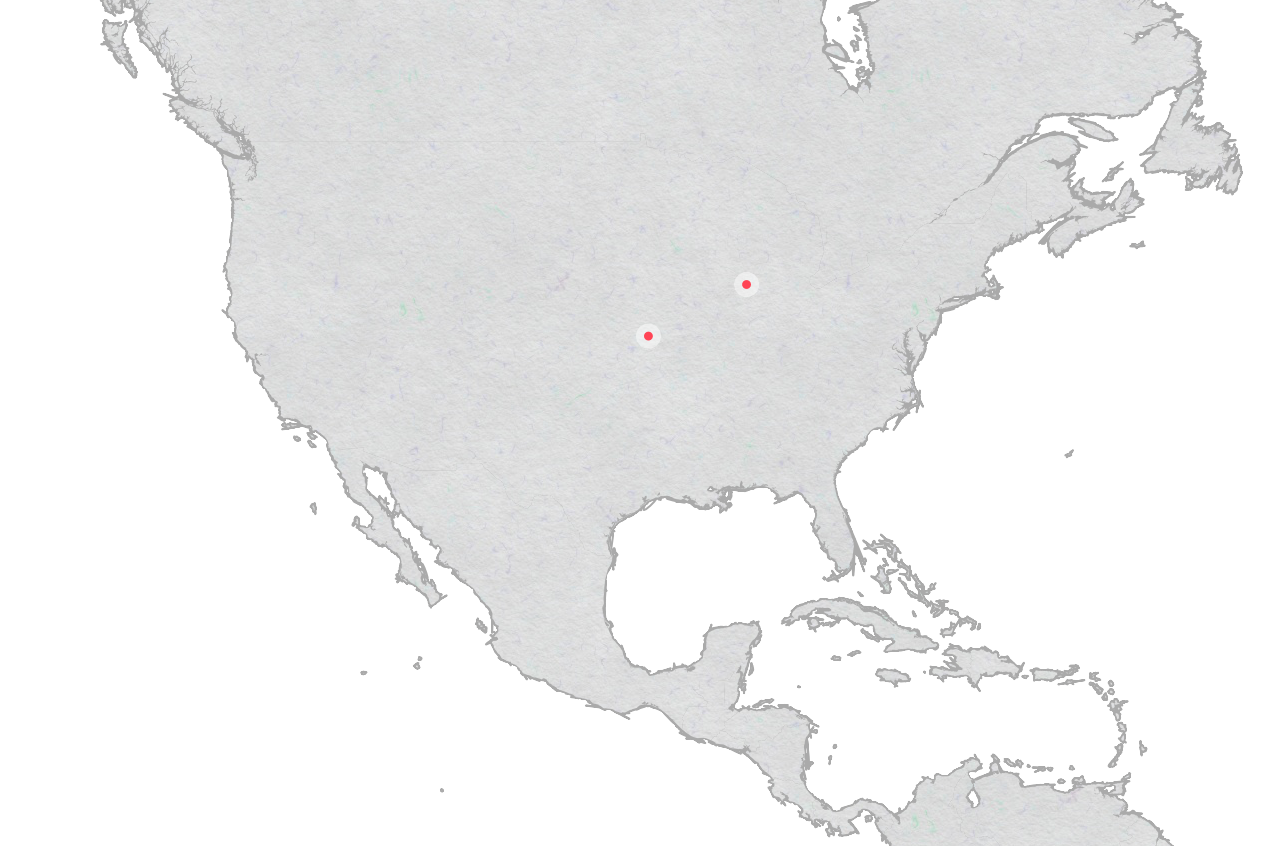
Okay, so you have a CSV file called some.csv with latitude and longitude values, and you want to turn it into a Shapefile.
name,lat,lon
Chicago,41.88,-87.63
Kansas City,39.101,-94.584
First: grab the documentation to Python’s CSV reader. It’s a good one, and pretty simple to use. Using one of the code examples on that page, you can make
import csv
with open('some.csv', 'rb') as f:
    reader = csv.DictReader(f)
    for row in reader:
        print row
This isn’t meant to be a Python tutorial (use codecademy for that), but the elements are as such:
- You use libraries, like the
csvlibrary orshapelylibrary, by sayingimport csvorimport shapely - Loops are like
for x in y, whereycan be a list of lines in a CSV file, or shapes, or numbers, or anything that’s ‘iterable’ - The
withstatement is used when you’re opening a file for a while. This code keepssome.csvopen for as long as you need to print out each row, and then closes it.
Save this as process.py. Running python process.py yields the output:
{'lat': '41.88', 'lon': '-87.63', 'name': 'Chicago'}
{'lat': '39.101', 'lon': '-94.584', 'name': 'Kansas City'}
Next up, making points. Import Shapely’s idea of a point with from shapely.geometry import Point and then make some - it takes coordinates in longitude, latitude order, and since CSV is implicitly as text rather than numbers, we use Python’s float() function to convert:
import csv

from shapely.geometry import Point
with open('some.csv', 'rb') as f:
    reader = csv.DictReader(f)
    for row in reader:
        point = Point(float(row['lon']), float(row['lat']))
Okay, now to save those points. Let’s bring in Fiona, and save these points to a shapefile.
import csv
from shapely.geometry import Point, mapping
from fiona import collection

schema = { 'geometry': 'Point', 'properties': { 'name': 'str' } }
with collection(
    "some.shp", "w", "ESRI Shapefile", schema) as output:
    with open('some.csv', 'rb') as f:
        reader = csv.DictReader(f)
        for row in reader:
            point = Point(float(row['lon']), float(row['lat']))
            output.write({
                'properties': {
                    'name': row['name']
                },
                'geometry': mapping(point)
            })
Pretty simple, right? You define the kinds of features you’re putting in, 'Point', the properties they’ll have, and then it’s as simple as opening an output file and calling output.write with a feature object.
Here’s that example in a gist so it’s easier to copy and see all at once..
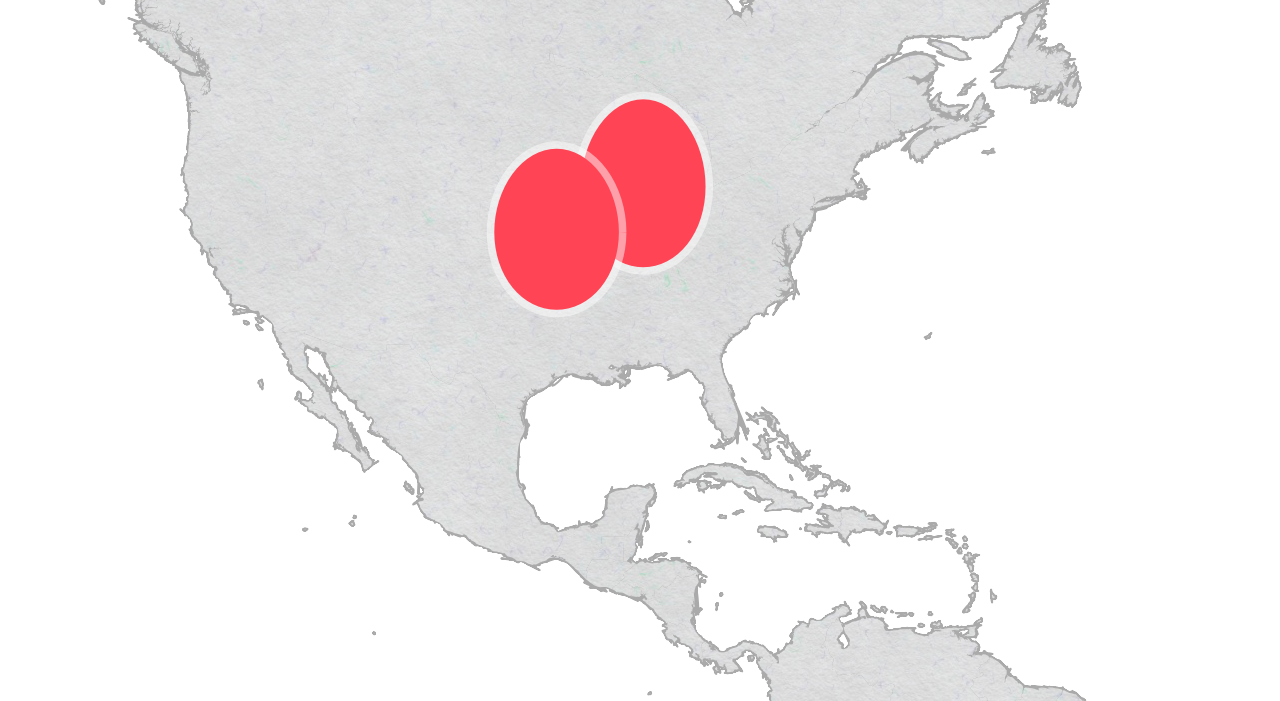
Buffering Points
Next up: classic GIS operations. How about buffering points? First, let’s use our previous calculation as input (so you should have points.shp around).
Sidenote: these tools work in native projections. The projection we’re using here is EPSG:4326, so we’re working in latitude and longitude. This is why the buffers we create will be odd-looking on a map that uses the spherical mercator projection.
That’s readable with Fiona too:
with collection("some.shp", "r") as input:And you can go over each features in that input and turn it into a shape that Shapely can read:
with collection("some.shp", "r") as input:
    for point in input:
        print shape(point['geometry'])
And Shapely provides a nice buffer method which you can use on nearly any kind of geometry - just call shape.buffer(1.0) or any other radius. So, all together:
from shapely.geometry import mapping, shape
from fiona import collection

with collection("some.shp", "r") as input:
    # schema = input.schema.copy()
    schema = { 'geometry': 'Polygon', 'properties': { 'name': 'str' } }
    with collection(
        "some_buffer.shp", "w", "ESRI Shapefile", schema) as output:
        for point in input:
            output.write({
                'properties': {
                    'name': point['properties']['name']
                },
                'geometry': mapping(shape(point['geometry']).buffer(5.0))
            })
Beautiful, right? Here’s that script as a gist.
Union
Pretty much the same process as before, I’ll cut through the narrative. The big trick is cascaded union, a fast way of making unions of lots of geometries - it’s way faster than using QGIS.
from shapely.geometry import mapping, shape
from shapely.ops import cascaded_union
from fiona import collection

with collection("some_buffer.shp", "r") as input:
    schema = input.schema.copy()
    with collection(
            "some_union.shp", "w", "ESRI Shapefile", schema) as output:
        shapes = []
        for f in input:
            shapes.append(shape(f['geometry']))
        merged = cascaded_union(shapes)
        output.write({
            'properties': {
                'name': 'Buffer Area'
                },
            'geometry': mapping(merged)
            })
And So On
I hope this is something of a tantalizing introduction to this toolchain. This kind of code is not only neat because it’s open-source and free, so you can share it with other people and use it on machines without expensive licenses, but also because it turns things that are manual into things that can be reusable.
If there’s some bunch of operations you do often, you can use Python’s sys.argv and instead of hardcoding filenames into a script, you can use its values:
import sys

with collection(sys.argv[1], "r") as input:
Then you can call the script like python script.py foo.shp and easily run it on directories of files.
Getting Started
If you’re interested in just learning Python, learn Python, Learn Python The Hard Way, and codecademy’s Python class are all excellent.
The full documentation for this code is in the Shapely manual.
See Also
- Paul Smith’s presentation on spatial and web mapping with Python at PyCon 2012
- Sean Gillies blog and post on spatially cleaning features with Fiona and Shapely
- Zain Memon also gave a great talk on GIS in Python with Shapely
- A Redo of an ESRI Tutorial - Combining Fields with Python, Shapely, and Fiona
- Using Open Source GIS Tools for Spatial Data